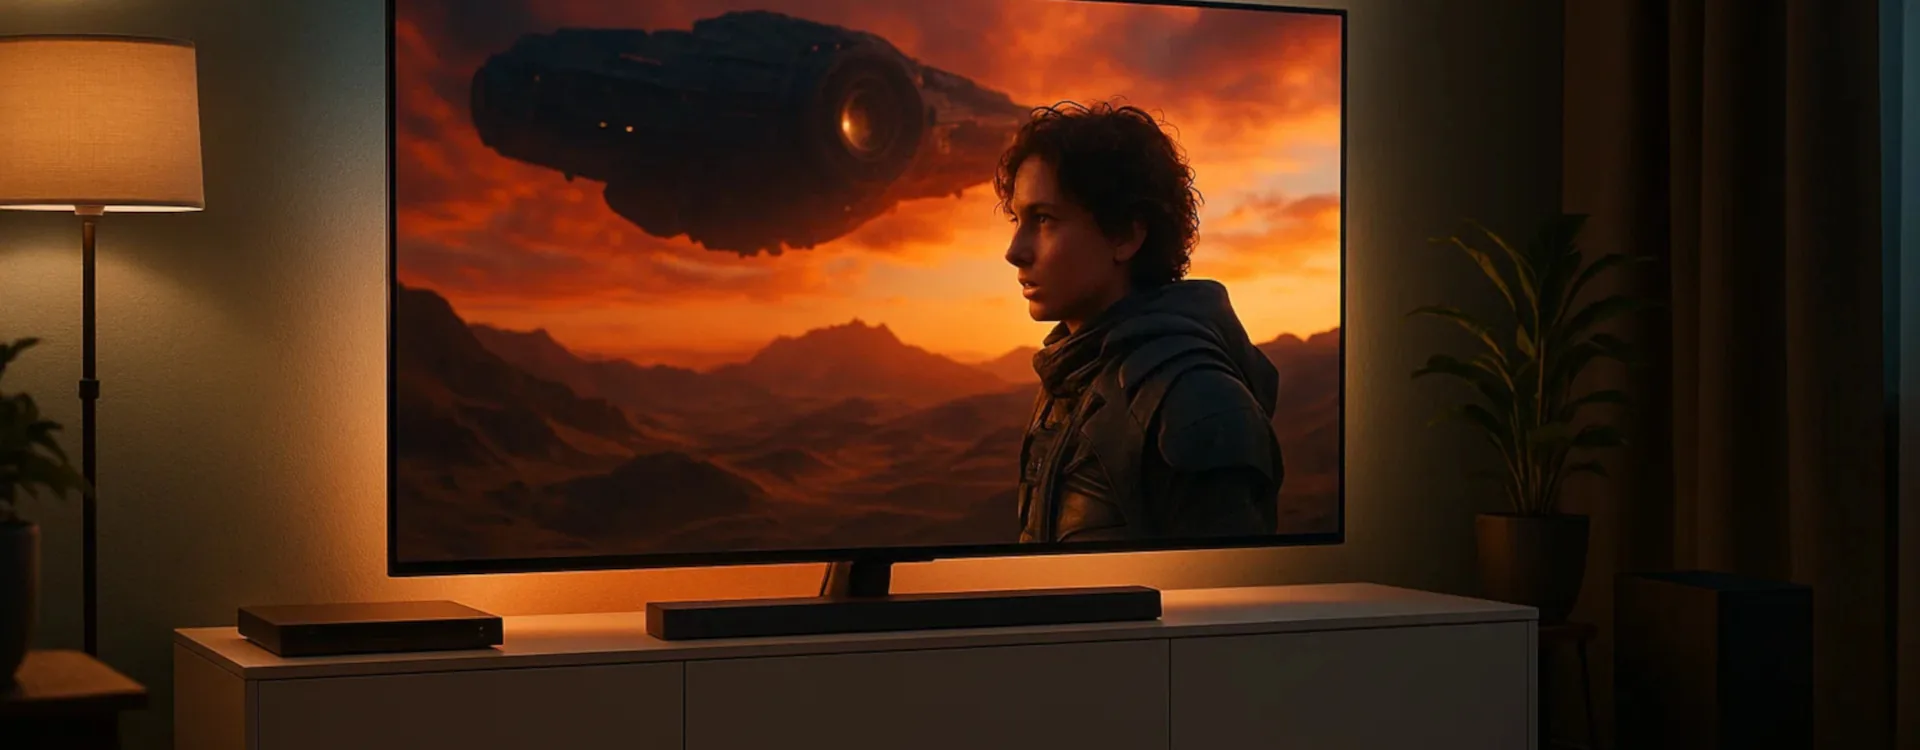
You’ve started buying 4K Ultra HD Blu-ray discs, but you still watch them with TV speakers and random settings? If you want to understand why physical 4K looks and sounds better than streaming, you need a proper home cinema setup — not necessarily super expensive, but well thought out and correctly configured.
In this guide we’ll see how to build a 4K home cinema system that lets you get the most out of your discs: picture, sound, connections and a few example configurations for different budgets.
1. Why 4K Blu-ray Is (Still) the Best Way to Watch Movies at Home
Before talking about gear, it helps to understand the “why”, so you know where it makes sense to spend:
- Much higher video bitrate than streaming: fewer compression artifacts, more fine detail, cleaner blacks in dark scenes.
- “Real” HDR (HDR10, and Dolby Vision on some discs): brighter highlights, deeper colours, stronger sense of depth.
- Lossless audio (Dolby TrueHD, DTS-HD MA, Atmos, DTS:X): no aggressive compression, more dynamics, better ambience detail.
- Stability: no buffering, no quality drops when the network is congested.
But you only see (and hear) all this if your setup is on the same level as the disc. Otherwise it’s like putting racing fuel in a car with a blocked engine.
2. First Step: Your Room and Viewing Distance
Before buying electronics, look at your room:
- Distance between sofa and screen: with a 55–65" 4K TV, a sweet spot is usually around 2–3 meters (depending on taste).
- Sofa position: try to be roughly centred to the screen, not way off to one side.
- Ambient light: if possible, use curtains or dimmable lights; 4K HDR really suffers with strong reflections.
Here you also decide if you’re more of a 4K TV person (normal living room) or a projector person (more dedicated, darker room).
3. Screen: 4K TV or Projector?
3.1 4K TV: the Easiest and Most Practical Option
For most people, a 4K TV with good HDR is the best choice:
- Higher brightness: perfect for living rooms that aren’t pitch black.
- Much easier installation: mount it, plug HDMI, done.
- Lower input lag: a big plus if you also use it for gaming.
If your goal is to get the most out of your 4K Blu-ray discs, look for:
- a panel with strong contrast and deep blacks (good OLED or FALD LCD),
- support for HDR10 (mandatory) and, ideally, Dolby Vision,
- at least one HDMI eARC port if you plan to use a soundbar or AV receiver.
3.2 Projector: Big “Cinema” Feel, More Demanding
A projector gives you that true “wow” effect (100" screens and up), but:
- it needs a very dark environment,
- you’ll want a dedicated wall or screen,
- HDR performance isn’t yet on par with the best TVs, especially in lower price ranges.
If you’re starting from scratch and want a practical 4K setup, a good 4K TV is almost always the best first step.
4. 4K Player: Game Console or Dedicated Deck?
To enjoy 4K discs you need a Ultra HD Blu-ray player. You basically have two routes:
4.1 Game Consoles (PS5, Xbox Series X)
- Pros: gaming + movies in a single device; often cheaper than a high-end dedicated player.
- Cons: HDR handling and upscaling are good but not as refined as the best stand-alone players; fewer advanced video/audio controls.
For a basic or mid-range 4K home cinema, a modern console can work perfectly fine.
4.2 Dedicated 4K UHD Player
- Pros: when well chosen, it offers better video processing, cleaner upscaling, more control over audio output, and often better reliability.
- Cons: more expensive and essentially “just” for discs.
It makes sense especially if:
- you already own a decent audio system,
- you’re sensitive to banding, macro-blocking and other artifacts,
- you want to squeeze every last bit of quality from carefully authored 4K releases (restorations, boutique labels, etc.).
5. Audio: Soundbar, 5.1 System or Full Atmos?
Watching a 4K disc with TV speakers is like buying a sports car and driving it only in first gear. It works, but you miss the point. Here are three main levels of 4K home cinema audio setups.
Level 1 – Serious Soundbar
- Soundbar with separate subwoofer.
- HDMI ARC/eARC connection.
- Support for Dolby Digital / DTS, ideally with virtual Atmos.
- Great for small/medium living rooms.
Level 2 – AV Receiver + 5.1
- AV receiver + 5 speakers + subwoofer.
- Real surround sound, precise effects positioning.
- More cables, but much more immersion.
Level 3 – “True” Atmos
- 5.1.2 / 5.1.4 system with in-ceiling or up-firing speakers.
- Support for Dolby Atmos / DTS:X bitstream audio.
- Full cinema-grade experience, especially with modern soundtracks.
5.1 What to Look For in a Soundbar
If you go for a soundbar in your 4K home cinema:
- make sure it has at least one HDMI ARC or eARC port,
- prefer models with a dedicated subwoofer,
- if it supports Atmos, even better (virtual isn’t like “true” Atmos, but it still helps).
5.2 AV Receiver and Separate Speakers
If you want a more serious jump in quality:
- choose an AV receiver that supports lossless audio formats (TrueHD, DTS-HD MA, Atmos, DTS:X);
- start with a classic 5.1 setup (front left/right, centre, surrounds, sub);
- add “height” channels later if you want to move to Atmos.
Compared to TV or basic soundbars, the impact is huge: cleaner dialogue, believable surround effects, and a soundtrack that finally breathes.
6. Connections and Settings: Where Most People Go Wrong
6.1 Basic Connection Layout
The simplest, cleanest way to wire a 4K home cinema setup is:
- 4K player → AV receiver (or soundbar) → TV via HDMI.
Practically:
- connect the 4K player to the AV receiver with a high-speed HDMI cable,
- connect the receiver’s HDMI output to the TV’s ARC/eARC port.
With a soundbar, the idea is the same: the soundbar sits in the middle, handling the audio while passing video to the TV.
6.2 HDMI Cables: Do They Really Matter?
You don’t need diamond-plated cables, but:
- you do want at least a High Speed HDMI cable with 18 Gbps support (for 4K HDR at 60 Hz),
- for very long runs or more advanced signals (4K120, heavy bandwidth), go for Ultra High Speed HDMI certified cables.
6.3 Key Settings to Check
On both the player and the TV:
- enable 4K output and HDR (sometimes HDR is off by default),
- set audio output to bitstream and enable passthrough for Atmos/DTS:X where available,
- on the TV choose a picture mode that’s as neutral as possible (Cinema / Movie modes),
- reduce or disable motion smoothing and overly aggressive “dynamic” filters.
7. Sample 4K Home Cinema Setups by Budget
7.1 Entry-Level “Smart Upgrade”
- 4K TV you already own (ideally re-tuned with better settings).
- Next-gen console or entry-level 4K player.
- Soundbar with subwoofer via HDMI ARC/eARC.
Perfect if you want a clear quality step compared to using only TV speakers, without filling the room with gear.
7.2 Mid-Range “Cinema in the Living Room”
- 4K TV with solid HDR (55–65").
- Dedicated 4K player.
- AV receiver + compact 5.1 speaker set.
This gives you a true home cinema: real surround sound, lossless tracks, and full use of what 4K Blu-ray is capable of.
7.3 Advanced “I Don’t Miss the Cinema Anymore”
- High-end 4K TV (or 4K projector with dedicated room).
- Mid/hi-end 4K player.
- 5.1.2 / 5.1.4 Atmos system with quality speakers and a serious subwoofer.
This is where every new 4K release becomes an event and you start rewatching your favourite films just to rediscover them.
8. Common Mistakes That Kill Your 4K Experience
- Playing 4K discs in SDR because HDR is disabled.
- Using TV speakers only and thinking “it’s fine”: you’re losing half the experience.
- Not using bitstream audio and blocking Atmos / DTS:X.
- Random speaker placement (centre speaker buried in a cabinet, surrounds in front of the sofa, subwoofer squeezed into a closed shelf).
- Leaving every TV “enhancement” active — dynamic contrast, vivid colours, heavy motion smoothing.
Fixing these details often brings a bigger improvement than upgrading the TV itself.
Conclusion: 4K Is Something You See, but Even More Something You Hear
A home cinema setup that really lets you enjoy 4K Blu-ray doesn’t have to cost a fortune, but it does have to be coherent:
- a screen that can show off HDR properly,
- a well-configured source,
- audio that takes advantage of lossless and object-based tracks,
- correct wiring and settings, not whatever the defaults happen to be.
Get these elements right, and every 4K disc you play stops being “just a high-definition movie” and becomes a full cinema experience that reminds you why physical media still matters in the streaming era.
Technical & Acronyms Glossary
- 4K UHD (Ultra High Definition): video resolution of 3840×2160 pixels, four times Full HD (1080p).
- 4K Ultra HD Blu-ray: optical disc format that stores movies in 4K with HDR and high-quality audio, readable only by compatible players.
- HDR (High Dynamic Range): technology that expands brightness and colour range, with more detail in shadows and highlights.
- HDR10 / Dolby Vision: HDR formats; HDR10 is the basic standard, Dolby Vision uses dynamic metadata to optimise brightness and colour scene by scene.
- Dolby TrueHD / DTS-HD MA: lossless audio formats on Blu-ray and 4K discs, preserving the studio master without destructive compression.
- Dolby Atmos / DTS:X: object-based audio formats that allow 3D sound effects, including height (overhead) information.
- ARC / eARC (Audio Return Channel): HDMI feature that lets the TV send audio (including advanced formats with eARC) to a soundbar or AV receiver through a single cable.
- HDMI High Speed / Ultra High Speed: certified HDMI cable categories for carrying 4K HDR at 60 Hz (High Speed) and higher-bandwidth signals like 4K120 (Ultra High Speed).
- AVR (Audio/Video Receiver): also called AV receiver or surround receiver; routes audio/video from multiple sources, sends video to the TV and powers speakers.
- Bitrate: amount of data used per second to encode audio or video (usually in megabits per second). Higher bitrate generally means less compression and better quality, given the same codec.
- Bitstream: audio output mode where the player sends encoded audio (Dolby, DTS, etc.) directly to the AV receiver or soundbar, which then decodes it.